 Inked Mythos
Introduction to Sketching for Modern Tattoo Styles
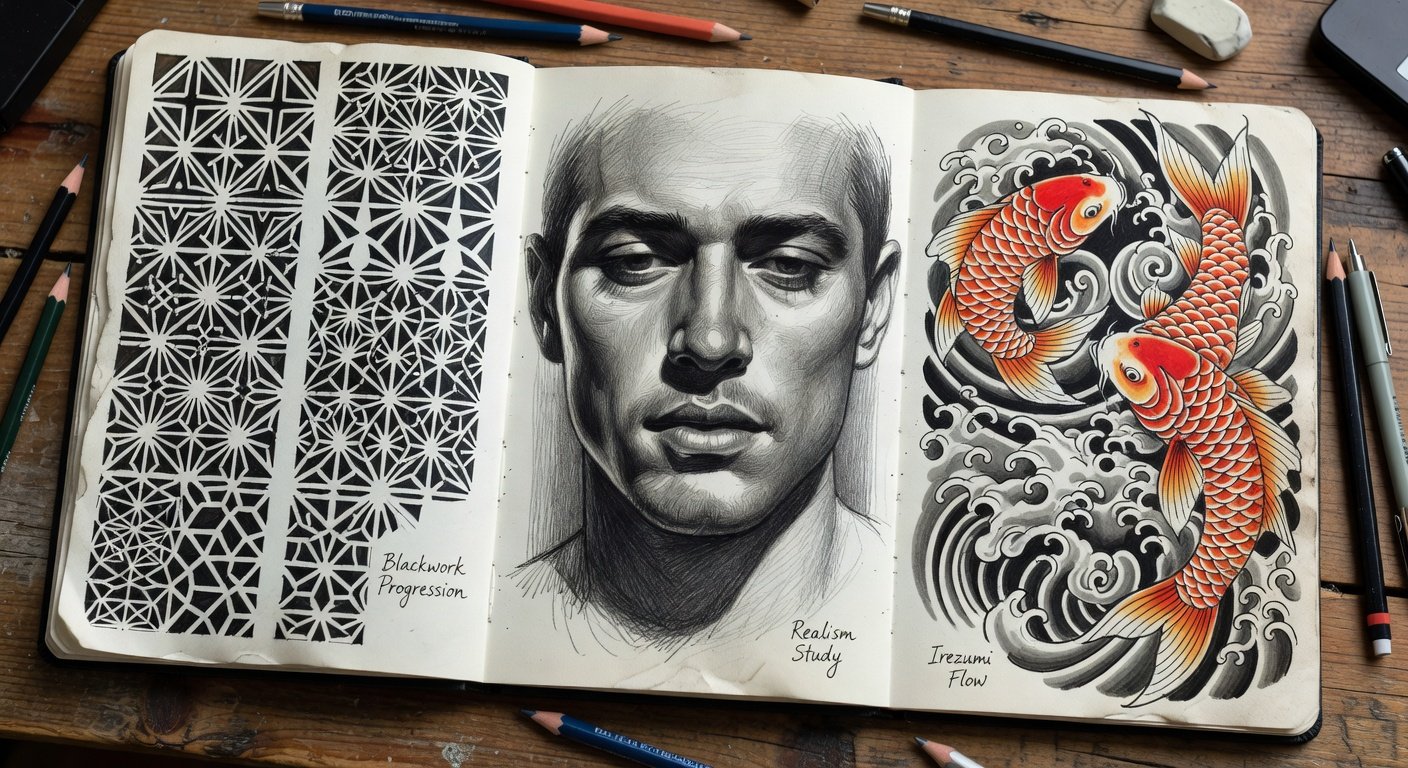
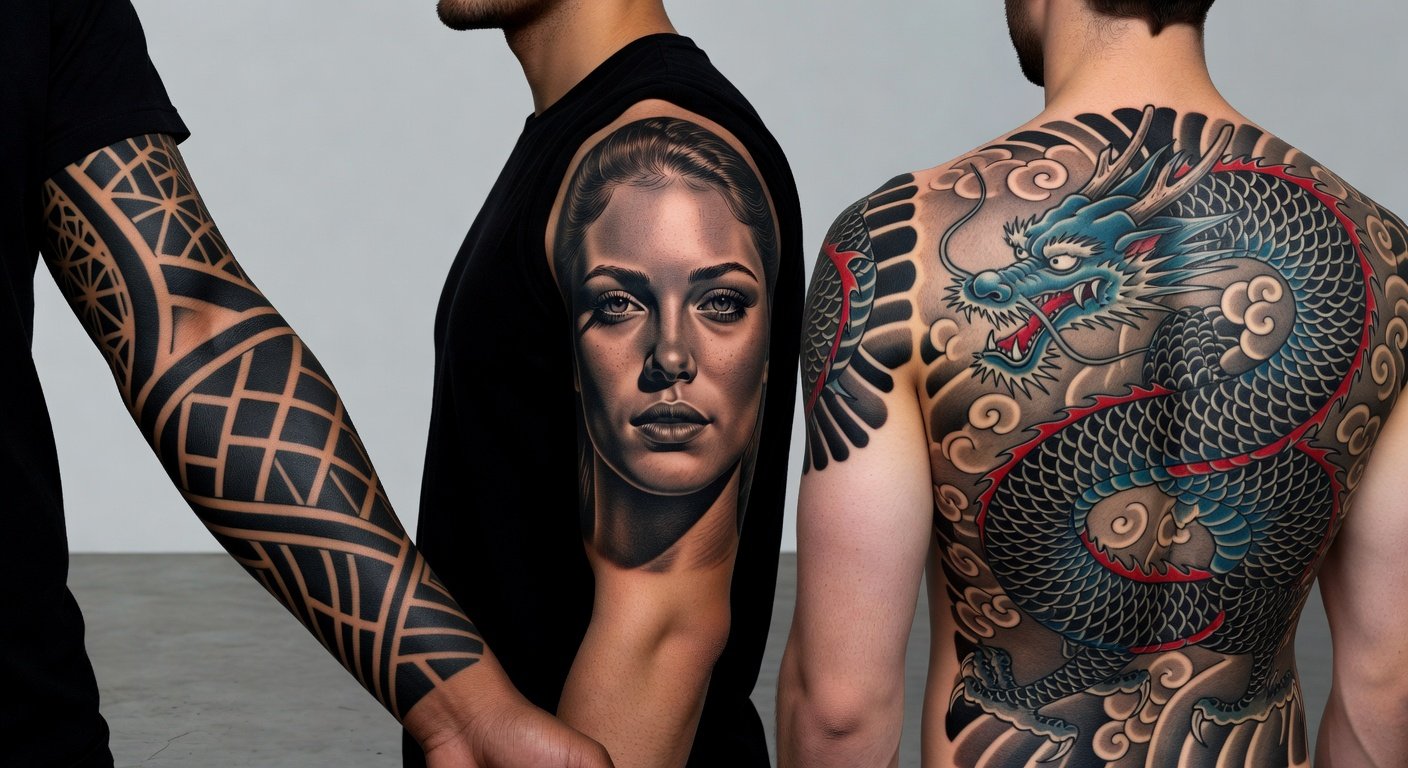
Aspiring tattoo artists and enthusiasts in 2026 are constantly seeking ways to refine their drawing abilities so that concepts move seamlessly from sketchbook to skin. Blackwork, realism, and irezumi represent three distinct yet complementary approaches that form the backbone of many contemporary tattoo portfolios. Blackwork relies on stark contrasts and repetitive patterns, realism demands precise observation of light and form, while irezumi celebrates dynamic movement and cultural symbolism. Mastering the sketching process for each style not only improves technical proficiency but also helps artists communicate ideas effectively with clients during consultations.
This comprehensive guide breaks down core techniques with progressive exercises, real-world examples, and practical advice tailored for body art application. Whether you are just beginning or looking to expand your repertoire, these methods emphasize foundational skills that withstand the test of time and translate directly onto living canvas.
Recommended Tools and Materials for Tattoo Sketching
Selecting the right tools is essential for achieving professional results across styles. Begin with a range of graphite pencils from 2H for delicate construction lines to 6B or 8B for rich dark values. Mechanical pencils with 0.5 mm leads offer consistency for fine details in realism work. For blackwork, invest in high-quality technical pens and markers in varying widths from 0.1 mm to 5 mm to create crisp, uniform lines that hold up under scrutiny.
Blending tools such as tortillons, blending stumps, and soft tissue paper help create smooth transitions in shaded areas. Kneaded erasers allow for lifting highlights without damaging paper fibers, which is particularly useful when refining realistic portraits. Irezumi practitioners benefit from brush pens with flexible tips or traditional sumi ink and sable brushes to practice fluid strokes that mimic the sweeping lines of traditional Japanese designs.
Paper choice matters greatly. Smooth bristol board supports clean ink lines without feathering, while textured watercolor paper adds subtle tooth for shading exercises. Many artists also maintain a digital workflow using tablets with pressure-sensitive styluses to simulate traditional media before finalizing concepts. Experiment with each tool on sample sketches to understand how pressure, angle, and layering affect the final outcome.
Blackwork Sketching: Progressive Steps with Examples
Blackwork designs emphasize graphic boldness and negative space. Start by lightly sketching the overall silhouette using an H pencil to establish proportions. For a typical mandala-inspired piece, divide the circle into symmetrical sections using a compass and ruler. Next, thicken primary outlines with a 0.8 mm liner while maintaining even pressure for consistent weight.
- Establish bold geometric frameworks such as triangles, circles, and repeating polygons that form the structural backbone.
- Incorporate pattern fills like dotwork, parallel hatching, or cross-hatching within defined zones to create texture and depth.
- Refine intersections and edges to ensure lines meet cleanly without overlaps or gaps that could appear messy when scaled up.
- Review the composition from a distance to check balance and contrast before adding final micro-details.
A practical example involves sketching a geometric sleeve band. Begin with a 20 cm wide rectangle on paper, then subdivide into repeating arrow motifs. Fill alternate sections with dense dot patterns while leaving others empty for breathing room. This approach ensures the design remains striking even after skin healing.
Realism Shading Techniques and Layering Methods
Realism requires patient observation and controlled mark-making. Begin every session by studying reference photos under consistent lighting. Map the lightest highlights first using an eraser on toned paper if desired. Build form gradually with overlapping circular strokes that follow the contour of the subject, whether it is human skin, animal fur, or fabric folds.
Progress from light to dark values in multiple passes rather than attempting heavy pressure immediately. Use a 2B pencil for mid-tones and reserve 4B-6B for deepest shadows. For skin textures, incorporate subtle stippling alongside smooth blending to replicate pores and subtle imperfections. A common exercise is rendering a single eye over multiple sessions: first capture the iris shape and highlight, then add individual lashes and surrounding skin details.
Artists often photograph their own hands or objects around the studio to practice capturing accurate proportions and foreshortening, skills that become invaluable when composing larger realistic tattoos.
Irezumi Flowing Motifs and Cultural Composition
Irezumi designs draw heavily from Japanese folklore and nature. Begin compositions with sweeping gesture lines that establish the primary flow, such as a dragon winding around the arm. Layer secondary elements like waves, clouds, or peonies so they interact dynamically without overcrowding any single area.
Practice brush control by drawing continuous curves that vary in thickness from thick to thin in a single stroke. This mimics the traditional tebori technique and gives designs an organic vitality. Background elements should support rather than compete with main motifs, creating a sense of depth and movement across the body.
Study historical Japanese art collections to understand authentic color theory and symbolic meanings that influence modern irezumi sketches.
Side-by-Side Style Comparisons and Practical Applications
Understanding differences helps artists choose appropriate approaches for client requests. Blackwork excels in quick, high-impact pieces suitable for smaller placements like wrists or ankles. Realism demands more time investment but rewards with lifelike results ideal for memorial portraits. Irezumi offers narrative depth and works best on expansive areas such as backs or full sleeves where motifs can tell a complete story.
When comparing, note how line weight functions differently: blackwork uses uniform heavy lines, realism employs almost invisible transitions, and irezumi varies line thickness to suggest volume and motion. Testing the same subject rendered in each style reveals how shading density and negative space affect visual weight.
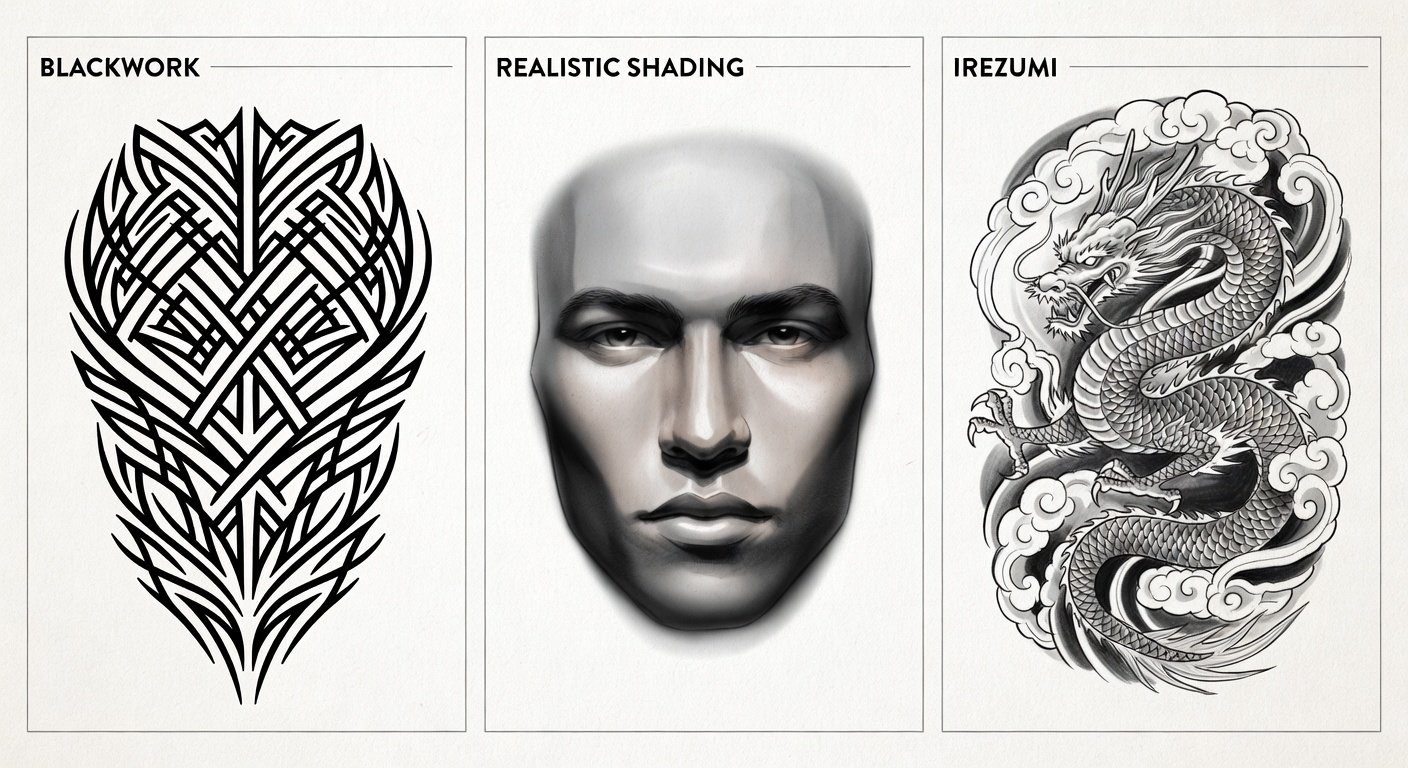
Many 2026 portfolios feature hybrid designs that merge blackwork borders with realistic central images framed by irezumi-inspired waves, demonstrating how these skills combine for unique client work.
Common Errors and How to Avoid Them
- Overcomplicating early stages by adding too many details before the overall composition is resolved—always block in major shapes first.
- Neglecting anatomical accuracy in realism by copying photos without understanding underlying structure, leading to unnatural proportions on curved body areas.
- Disrupting flow in irezumi by placing motifs too symmetrically or ignoring natural body contours during placement planning.
- Using inconsistent line weights across a single design, which becomes glaring once transferred to skin.
Regular critique sessions with fellow artists or timed practice drills help identify and correct these issues quickly.
Adjusting Sketches for Body Art Scale and Placement
Translating paper sketches to skin requires careful scaling. Print designs at multiple sizes and wrap them around cylindrical objects to simulate limbs. Increase spacing between elements by 10 to 20 percent in areas prone to skin movement such as elbows or knees. Consider how gravity and muscle flexion will alter the final appearance over years.
Always create both front and side view sketches for larger pieces. This reveals how motifs wrap around the body and prevents awkward stretching or compression. Research traditional Japanese tattoo placement guidelines to respect cultural conventions while adapting designs for contemporary clients.
Frequently Asked Questions
How long should I practice each style before attempting client work?
Dedicate at least three months to focused daily exercises in one style before combining approaches. Track progress by keeping dated sketchbooks and comparing early versus recent pages.
What are the best references for learning irezumi motifs?
Begin with museum archives and reputable books on ukiyo-e prints. Observe how masters balance positive and negative space before creating original variations.
How do I handle client revisions during the sketching phase?
Present three distinct options with clear explanations of how each aligns with the requested style. Use tracing paper overlays to demonstrate quick adjustments live during consultations.
Can digital tools fully replace traditional sketching?
Digital methods accelerate iteration but traditional media builds essential hand-eye coordination and pressure sensitivity that improves all-around technique.
Conclusion
Developing expertise in sketching blackwork, realism, and irezumi equips tattoo artists with versatile tools for creative expression and professional success. Through deliberate practice, attention to detail, and thoughtful adaptation for the human form, these foundational skills continue to produce compelling body art that resonates with clients well into the future. Continue refining your process and the results will speak for themselves on skin.
No comments yet. Be the first!