 Inked Mythos
Introduction to Advanced Blackwork Realism in Irezumi
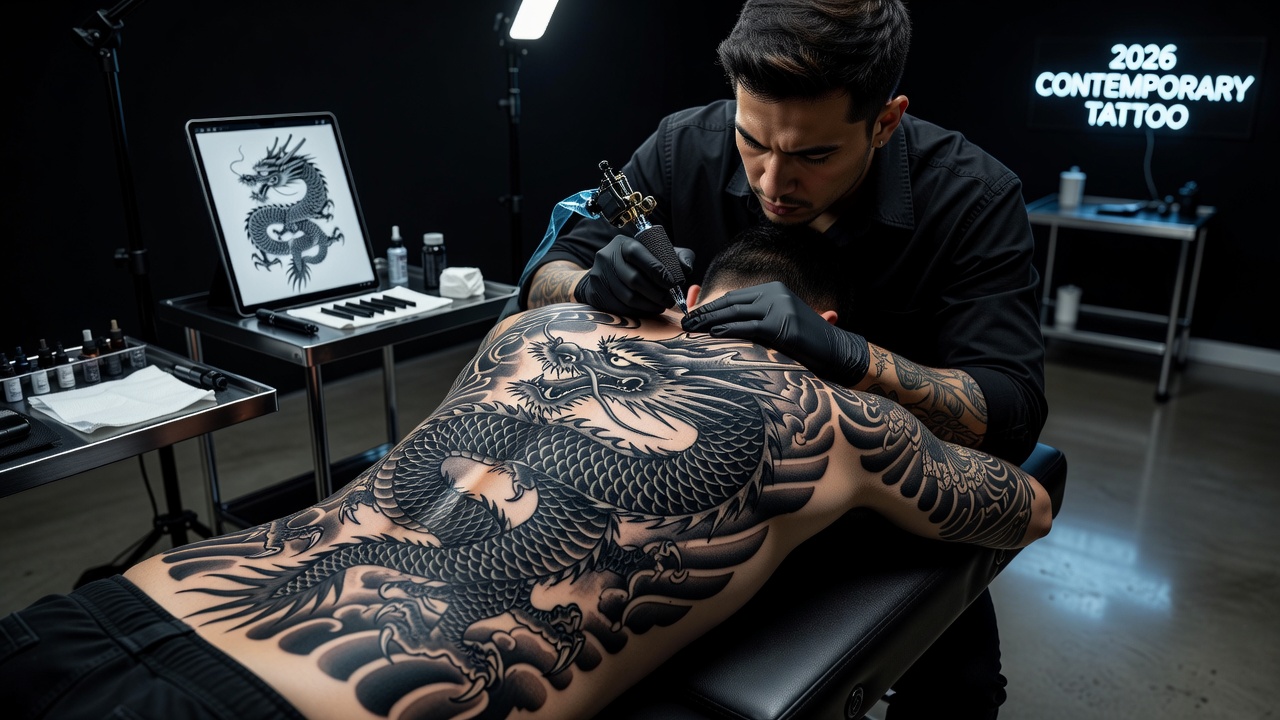
Intermediate and advanced tattoo artists are constantly pushing boundaries in 2026 by merging the bold density of traditional blackwork with photorealistic shading inside irezumi frameworks. This fusion creates depth, dimension, and modern appeal while respecting cultural motifs like koi, dragons, and peonies. Mastering these techniques requires precision in ink layering, strategic use of negative space, and informed tool selection. Artists who excel here deliver custom pieces that stand out in client portfolios and social media showcases, often becoming reference points for the next generation of body art professionals. The following sections break down the methods with practical steps drawn from recent studio practices and real-world applications seen across international conventions.
Understanding the interplay between solid black fills and subtle tonal transitions allows artists to achieve a sense of movement and realism that elevates classic irezumi from flat silhouettes into living compositions. Clients increasingly seek these hybrid styles because they photograph well under varied lighting conditions and age gracefully on skin.
Layering Ink for Depth and Realism
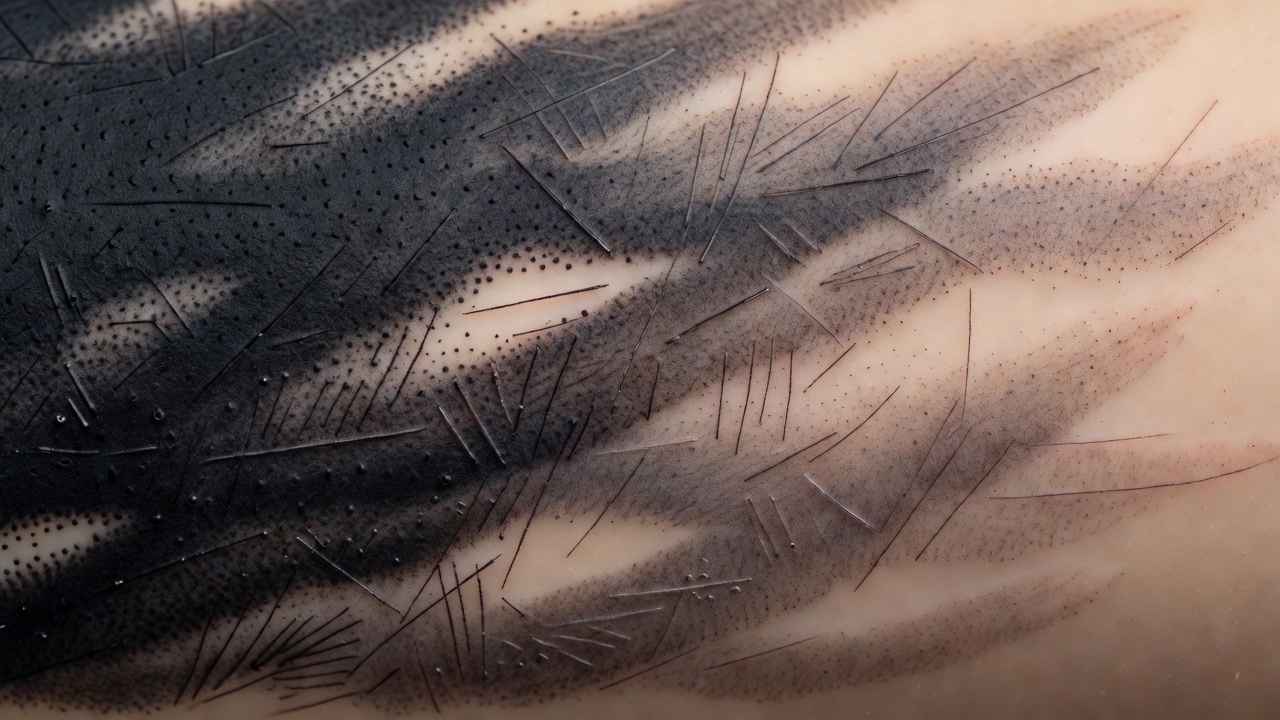
Effective layering begins with understanding ink saturation levels. Start with a solid black base using tight circular motions to establish density without causing excessive trauma. Subsequent passes add graduated tones by diluting ink slightly or varying needle pressure and speed. This builds subtle gradients that mimic light and shadow on skin texture, creating the illusion of volume in scales, flames, or waves. In practice, many artists work in three to five distinct layers, allowing each to settle before adding the next. This approach prevents the muddy appearance that occurs when too much ink is deposited at once.
Key to success is allowing proper healing time between layers during multi-session projects, typically spacing appointments four to six weeks apart. Overworking the skin leads to blowouts and scarring, while under-saturation results in flat areas that lack impact once healed. Recent studio observations from 2026 show that artists who document each layer with reference photos achieve more consistent outcomes across different skin types. Many 2026 artists reference healing timelines from major health authorities when advising clients on aftercare protocols to minimize complications.
Using Negative Space Effectively
Negative space acts as a visual rest point and enhances contrast in dense blackwork. In irezumi realism, leave strategic unpunctured areas to represent highlights on scales, waves, or fur. This technique prevents muddiness and gives the illusion of three-dimensional form without additional color. Effective use involves planning the flow of light as if the design were a sculpture, ensuring negative areas connect visually to create pathways for the eye to follow through the composition.
Map negative space during the stencil phase using tracing paper overlays to test how light interacts with the design from multiple angles. Clients often request adjustments here to ensure the final healed result matches their vision. Advanced practitioners also consider how body movement will affect these spaces over time, adjusting placements on joints and muscle groups accordingly for long-term visual harmony.
Adapting Traditional Irezumi Motifs with Photorealistic Elements
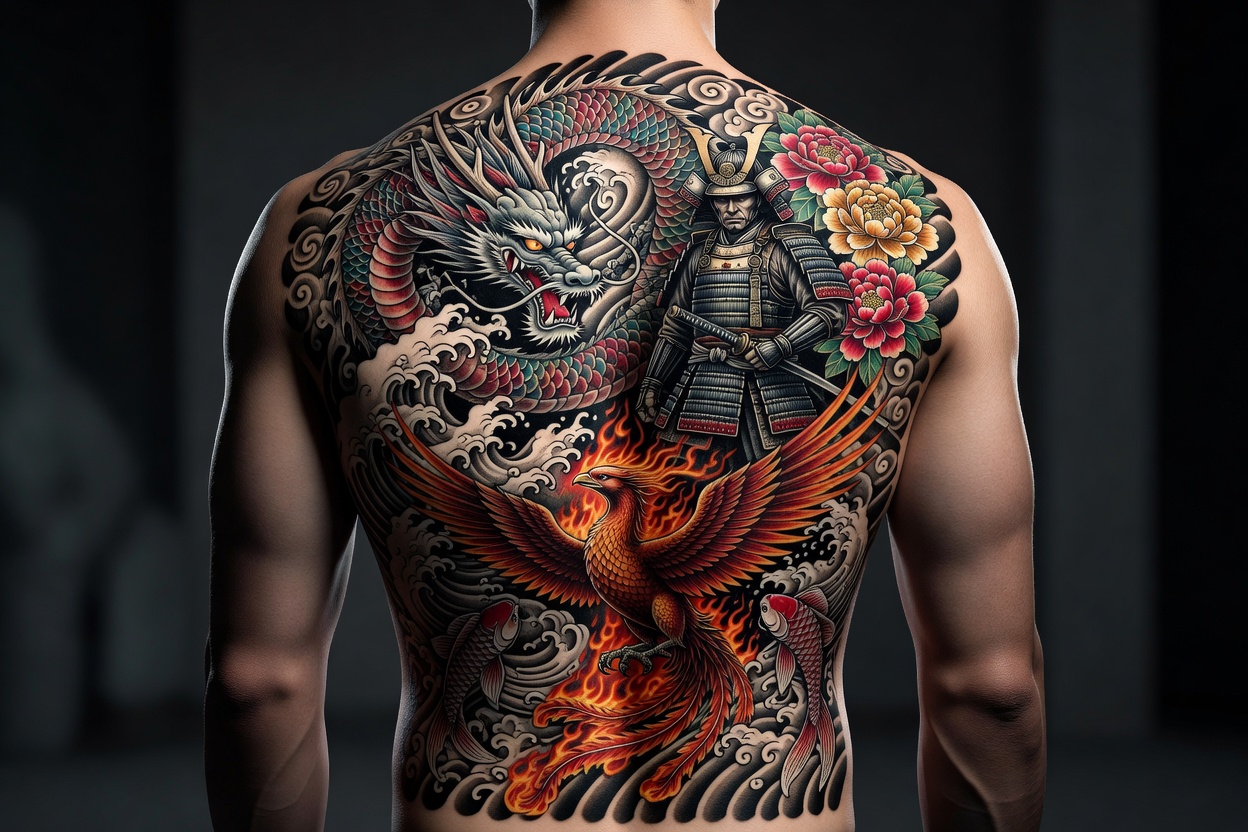
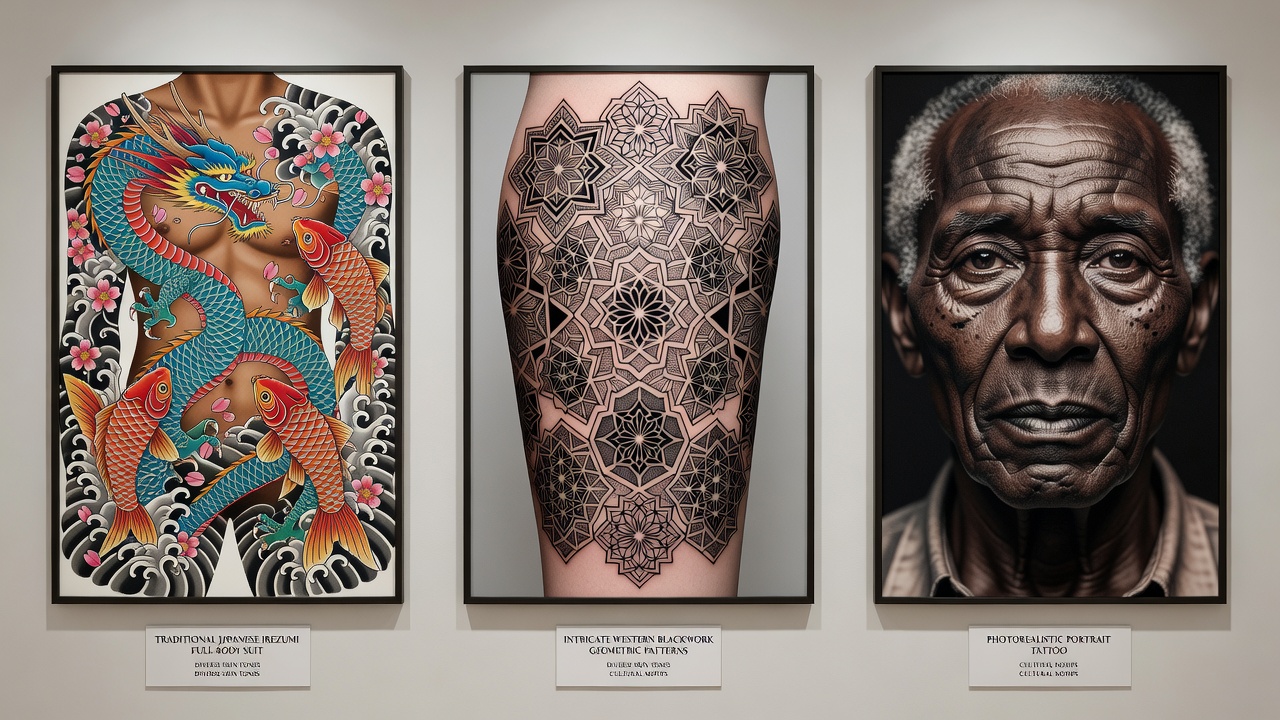
Traditional motifs provide the structural backbone. Transform a classic dragon by incorporating realistic muscle definition through micro-shading around scales and along the spine. Blend this with blackwork fills on the body while keeping the head and claws crisp for focal impact. The same principle applies to peony blossoms, where petal edges receive fine gradient work to suggest dew and texture against solid black foliage backgrounds.
2026 examples frequently feature hybrid koi where water splashes receive photorealistic droplet shading against solid black backgrounds. These adaptations maintain irezumi flow while adding contemporary realism that appeals to a global clientele. Artists often study historical reference books and modern photography to balance authenticity with innovation, ensuring the final piece respects cultural origins while incorporating current aesthetic trends.
Step-by-Step Shading Methods
Follow this proven workflow for consistent results across large and small scale projects:
- Outline the entire motif with a 3RL needle for clean edges that will hold up during heavy shading sessions.
- Pack solid blackwork sections using a 7M or 9M magnum configuration, working in overlapping passes to achieve uniform coverage without patchiness.
- Introduce mid-tones with a 5RS round shader, working in circular patterns from dark to light while constantly rotating the hand to follow natural contours of the body.
- Refine highlights and transitions with a single-needle approach for fine control, paying close attention to skin stretch and tension during the process.
- Review under different lighting conditions to adjust density before the final pass, using both natural daylight and controlled studio lamps.
Practice on synthetic skins first to calibrate pressure and speed for each needle group. Many artists maintain detailed journals of their settings and outcomes to refine their personal technique over multiple projects.
Tool Comparisons and Needle Configurations
Needle choice dramatically affects outcome and client comfort. Magnum shaders excel at broad coverage and smooth gradients in large blackwork zones, reducing session time on expansive pieces such as full sleeves or back pieces. Round shaders offer versatility for curved surfaces common in irezumi limbs and torsos, allowing tighter control around joints. Cartridges with textured tips reduce trauma compared to older loose needles, leading to faster healing and sharper healed lines.
Many professionals compare configurations side-by-side on test pieces before committing to a full design. A 2026 studio survey noted preference for hybrid setups combining magnum bases with round shader detailing for optimal realism. When selecting equipment, artists also weigh factors such as machine weight, stroke length, and ink flow consistency to match their individual hand technique and project scale.
For safety guidelines on equipment sterilization, consult WHO resources on infection prevention in body art practices. Historical context on irezumi evolution can be explored via Britannica. Additional aftercare recommendations are available from Mayo Clinic.
Before-and-After Examples from 2026 Works
Recent case studies show dramatic transformations that illustrate the power of these techniques. One full-back piece began as a traditional black irezumi dragon and evolved through three sessions into a realistic rendering with layered shading on the wings and claws. The healed result revealed enhanced depth thanks to careful negative space placement around the clouds, creating the impression of smoke and movement. Another forearm koi project demonstrated how micro-shading on the fins created photorealistic movement against dense black scales, with clients reporting high satisfaction during follow-up appointments.
A third example involved a thigh piece combining a phoenix with blackwork flames. The artist used graduated layering to transition from solid black at the base to delicate smoke tendrils at the top, resulting in a composition that appears to lift off the skin. Artists document these transitions with consistent photography angles to track progress accurately and build educational content for apprentices.
Mistakes to Avoid in Blackwork Realism Irezumi
Common pitfalls include rushing the layering process, which often leads to inconsistent saturation and visible patchiness after healing. Another frequent error is neglecting to account for skin movement, resulting in distorted highlights once the client resumes normal activity. Overuse of single-needle work without proper support from broader shaders can also create harsh lines that clash with the intended soft realism. Always test new combinations on practice skin and seek feedback from mentors before applying them to clients.
Common Errors and Client Consultations: FAQ
What causes uneven shading in blackwork realism?
Uneven results often stem from inconsistent needle angle or skipping the mid-tone layering stage. Always build gradually and reassess after each pass while maintaining steady hand positioning.
How do I handle client requests for overly dense designs?
During consultation, explain the importance of negative space for long-term visual impact and healing. Provide visual references showing both dense and balanced versions to guide informed decisions.
Which needle works best for fine realistic details?
Single or 3RL needles provide the control needed for photorealistic transitions within irezumi outlines, though they should be used in combination with larger shaders for efficiency.
Should I adjust techniques for different skin tones?
Yes. Darker skin requires slightly heavier saturation in base layers to achieve comparable contrast after healing, while lighter skin benefits from more delicate mid-tone work.
How many sessions are typically required for large hybrid pieces?
Most full-back or sleeve projects need three to five sessions spaced several weeks apart to allow proper healing and layering refinement.
Conclusion
Advanced shading in blackwork realism irezumi demands patience, technical knowledge, and creative adaptation. By mastering layering, negative space, and tool selection, artists create timeless pieces that honor tradition while embracing 2026 innovation. Continuous practice, detailed documentation, and thoughtful client collaboration ensure these techniques translate into standout work that continues to evolve with the craft.
No comments yet. Be the first!