 Inked Mythos
Introduction to Glow Ink in Modern Tattoo Art
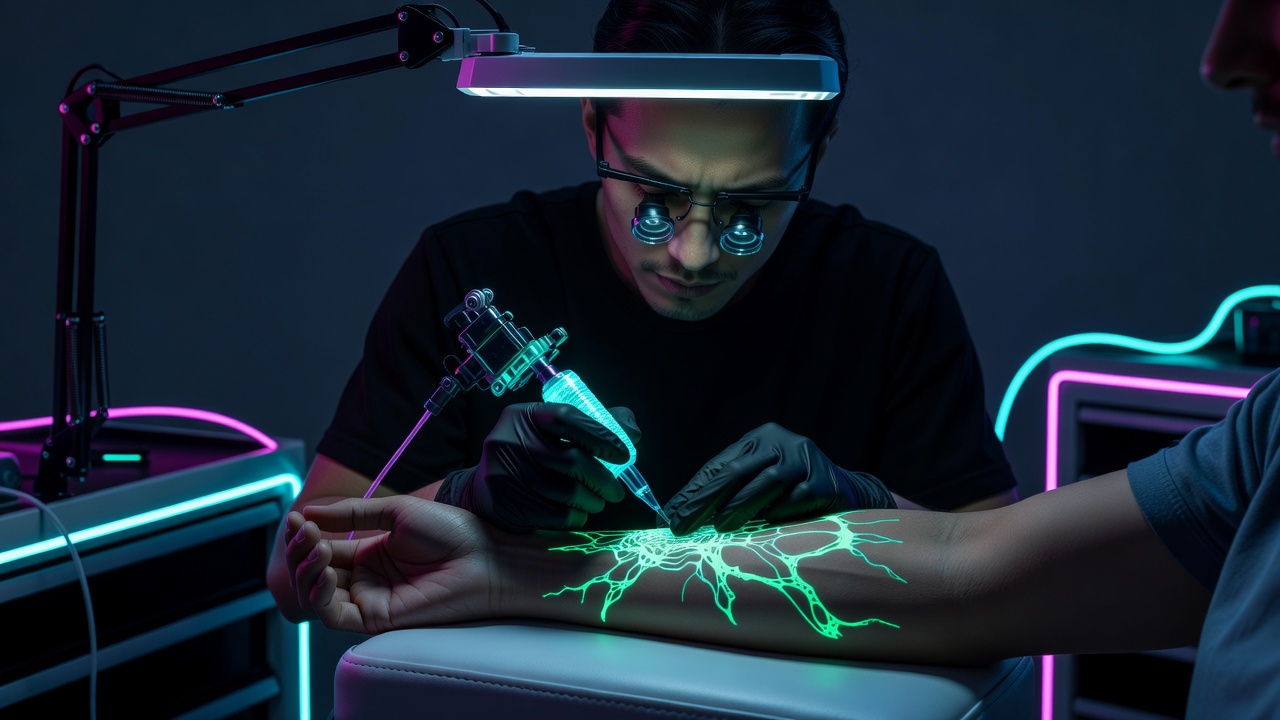
As body art evolves, glow-in-the-dark inks represent a cutting-edge trend for 2026, allowing tattoo artists to create pieces that illuminate under UV light or in darkness. This technology appeals to clients seeking futuristic, immersive designs that stand out in low-light environments like clubs or festivals. Tattoo artists looking to differentiate their portfolios must understand the nuances of these pigments to deliver safe, vibrant results that last. The growing interest stems from clients wanting interactive tattoos that transform based on lighting conditions, pushing creators to adopt innovative materials that blend artistry with technology. By mastering these inks, professionals can offer unique experiences that traditional tattoos cannot match, positioning their studios as forward-thinking destinations in a competitive market.
Comparing UV-Reactive and Traditional Glow Formulas
UV-reactive inks charge quickly under blacklight and produce intense fluorescence, making them ideal for dynamic, party-oriented tattoos. In contrast, traditional glow formulas rely on phosphorescent compounds that store light energy for gradual release in complete darkness, though they often require longer charging times. Artists should test both on skin-like surfaces to observe longevity and color shifts, as UV options tend to fade faster with repeated sun exposure while phosphorescent ones maintain subtlety in daylight. For example, a UV-reactive piece on a client's wrist might glow brilliantly during a concert but appear muted under normal office lighting, whereas a phosphorescent tattoo on the same area could provide a soft, persistent glow after being charged by sunlight earlier in the day. Understanding these differences helps artists recommend the right formula based on client lifestyle and desired visibility.
Selecting the Right Pigments for Professional Results
High-quality glow pigments must be biocompatible and free from heavy metals. Focus on brands that provide detailed MSDS sheets and third-party testing. Blend glow pigments with standard tattoo inks for hybrid effects, ensuring the mixture maintains viscosity for smooth machine flow. Always prioritize pigments certified for cosmetic use to minimize allergic reactions. When selecting, consider particle size because finer particles integrate better with skin layers and reduce the risk of raised textures after healing. Artists often experiment with small batches on practice skins to evaluate how each pigment interacts with different skin tones, noting that darker complexions may require higher concentrations for optimal glow intensity.
Step-by-Step Application Tutorial
Begin with thorough skin preparation using antiseptic wipes. Outline the design with standard ink first, then layer glow pigment in thin coats to avoid clumping. Use a rotary machine at lower voltage for precision. Allow each layer to heal partially before adding depth. For multi-layered glow effects, apply base coats during the initial session and schedule touch-ups after four weeks. Start by mapping the design on transfer paper and positioning it accurately on the client's skin. Next, stretch the skin taut while applying the first glow layer in circular motions to ensure even coverage. Monitor the machine's speed constantly to prevent overheating the pigment, which can degrade its luminescent properties. After completing the base layer, cover the area and instruct the client on initial care before they leave. During follow-up sessions, assess healed sections under UV light to identify areas needing reinforcement, then build additional layers strategically for depth and dimension.
Essential Equipment Recommendations
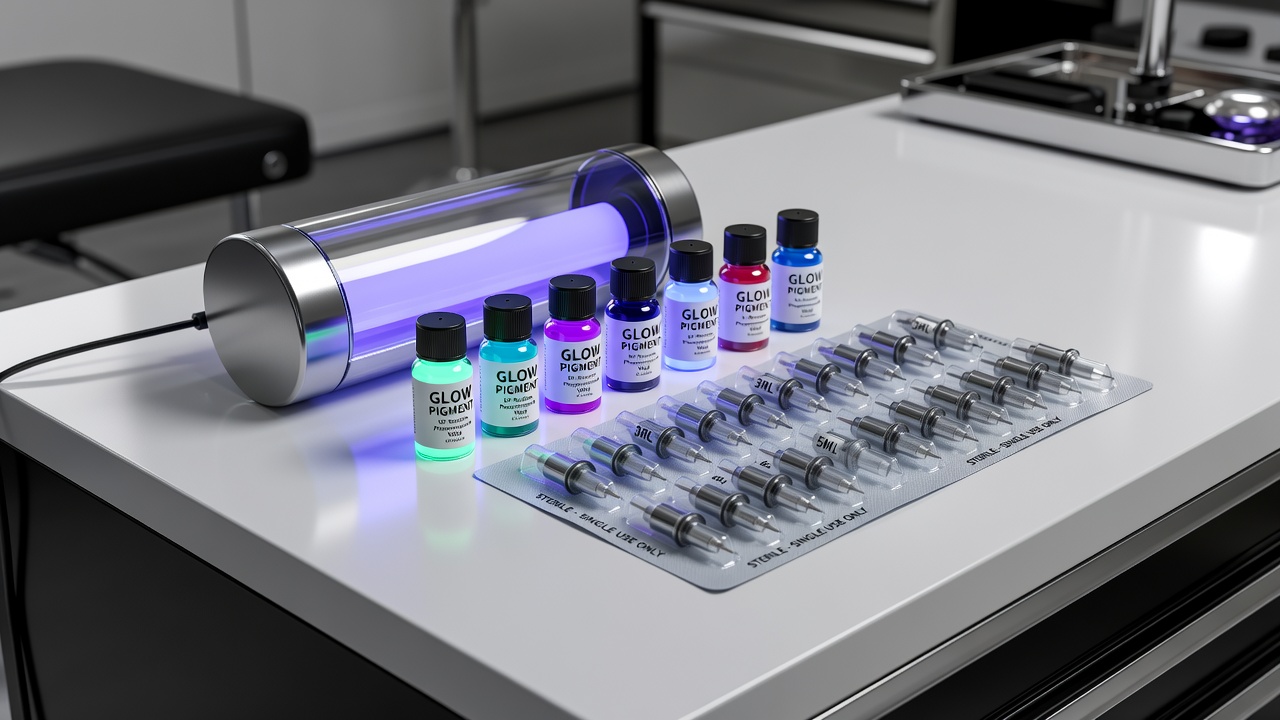
Invest in UV lamps for studio testing and client previews. Pair these with high-quality needles designed for pigment retention and sterile gloves to maintain hygiene. A dedicated mixing station prevents cross-contamination between glow and standard inks. Additional tools include adjustable lighting setups that simulate various environments, allowing artists to preview how the tattoo will appear in daylight versus nighttime conditions. Consider investing in specialized storage containers that protect pigments from light degradation and maintain their potency over time. A comprehensive kit might also feature magnification tools for precise application in intricate designs and digital timers to track charging periods during client consultations.
- UV lamps with adjustable intensity for controlled testing
- Rotary machines with variable voltage settings
- Biocompatible mixing palettes and sterile applicators
- Protective eyewear for both artist and client during UV sessions
Integrating Glow Techniques with Existing Tattoo Styles
Combine glow inks with realism by highlighting anatomical details that pop under blacklight. In geometric or tribal work, use glow accents for hidden patterns revealed only in darkness. Case studies from leading artists show successful fusion with watercolor styles, where glow elements create ethereal transitions. One notable example involves a full-sleeve piece where traditional blackwork forms the base while subtle glow highlights mimic celestial bodies that activate in low light. Another artist integrated glow into neo-traditional designs by outlining floral motifs, allowing the glow to emphasize petals at night without overpowering the daytime appearance. These integrations require careful planning to balance visibility across lighting conditions.
Safety Protocols Every Artist Must Follow
Adhere to strict sterilization routines and conduct patch tests 48 hours prior. Consult resources from the FDA on approved tattoo ingredients. Monitor for adverse reactions and maintain detailed client records. Ventilation systems are critical when handling volatile glow compounds. Additional protocols include wearing protective barriers during application, disposing of single-use items properly, and educating clients about potential sensitivities before the session begins. Always verify that pigments comply with local regulations and avoid mixing untested products. Regular studio audits ensure ongoing compliance with health standards.
Client Aftercare and FAQ
Provide clients with detailed aftercare instructions tailored to glow ink. Emphasize gentle cleansing and moisturizing without harsh chemicals that could affect luminescence. Recommend avoiding direct sunlight and chlorinated water during the healing phase.
How long does glow ink last? With proper care, effects remain visible for years, though intensity diminishes over time.
Is it safe for all skin types? Most clients tolerate it well, but those with sensitivities should avoid it after consulting a dermatologist.
Can I combine it with colored inks? Yes, but test compatibility to prevent color bleeding during healing.
What aftercare is recommended? Keep the area moisturized and avoid prolonged UV exposure for the first month. Follow general healing guidelines from CDC health resources.
Will the glow fade with time? Gradual fading is normal; touch-up sessions can restore vibrancy as needed.
Are there any activity restrictions post-tattoo? Limit heavy exercise and sun exposure until fully healed to protect the ink's properties.
Common Mistakes to Avoid
Over-applying thick layers often leads to poor healing and reduced glow performance. Neglecting to test pigments on different skin tones can result in disappointing visibility. Skipping patch tests increases the risk of reactions that damage client trust. Always document every step and review previous work to refine techniques continuously.
Conclusion
Mastering glow ink techniques positions tattoo artists at the forefront of 2026 innovation. By combining technical skill with rigorous safety practices, creators can offer clients unforgettable, light-reactive body art that elevates their craft and expands creative possibilities.


No comments yet. Be the first!